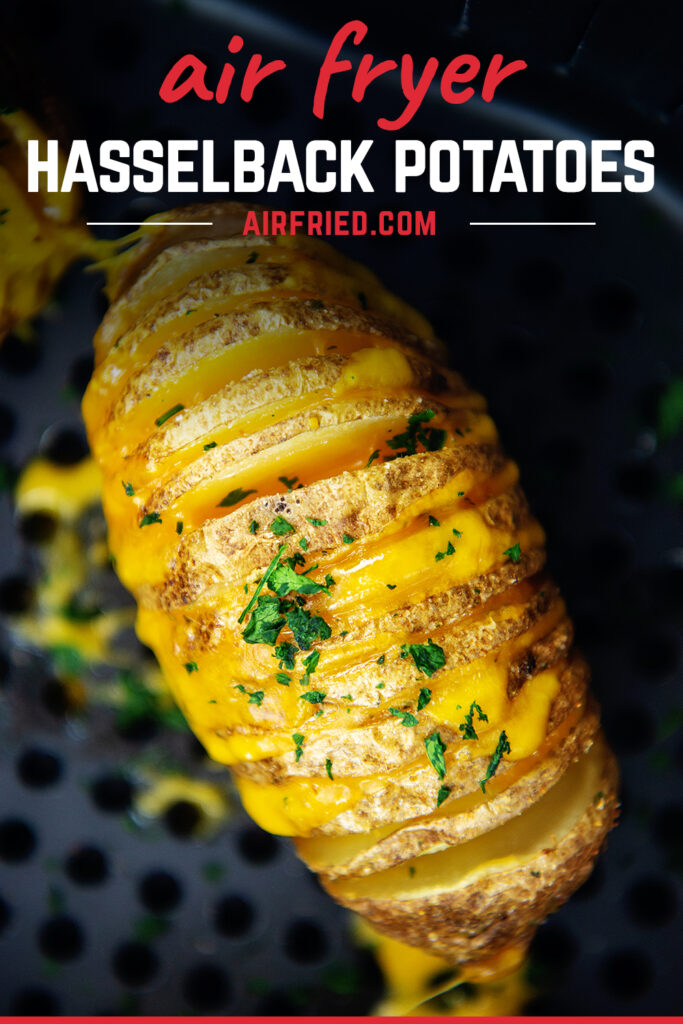
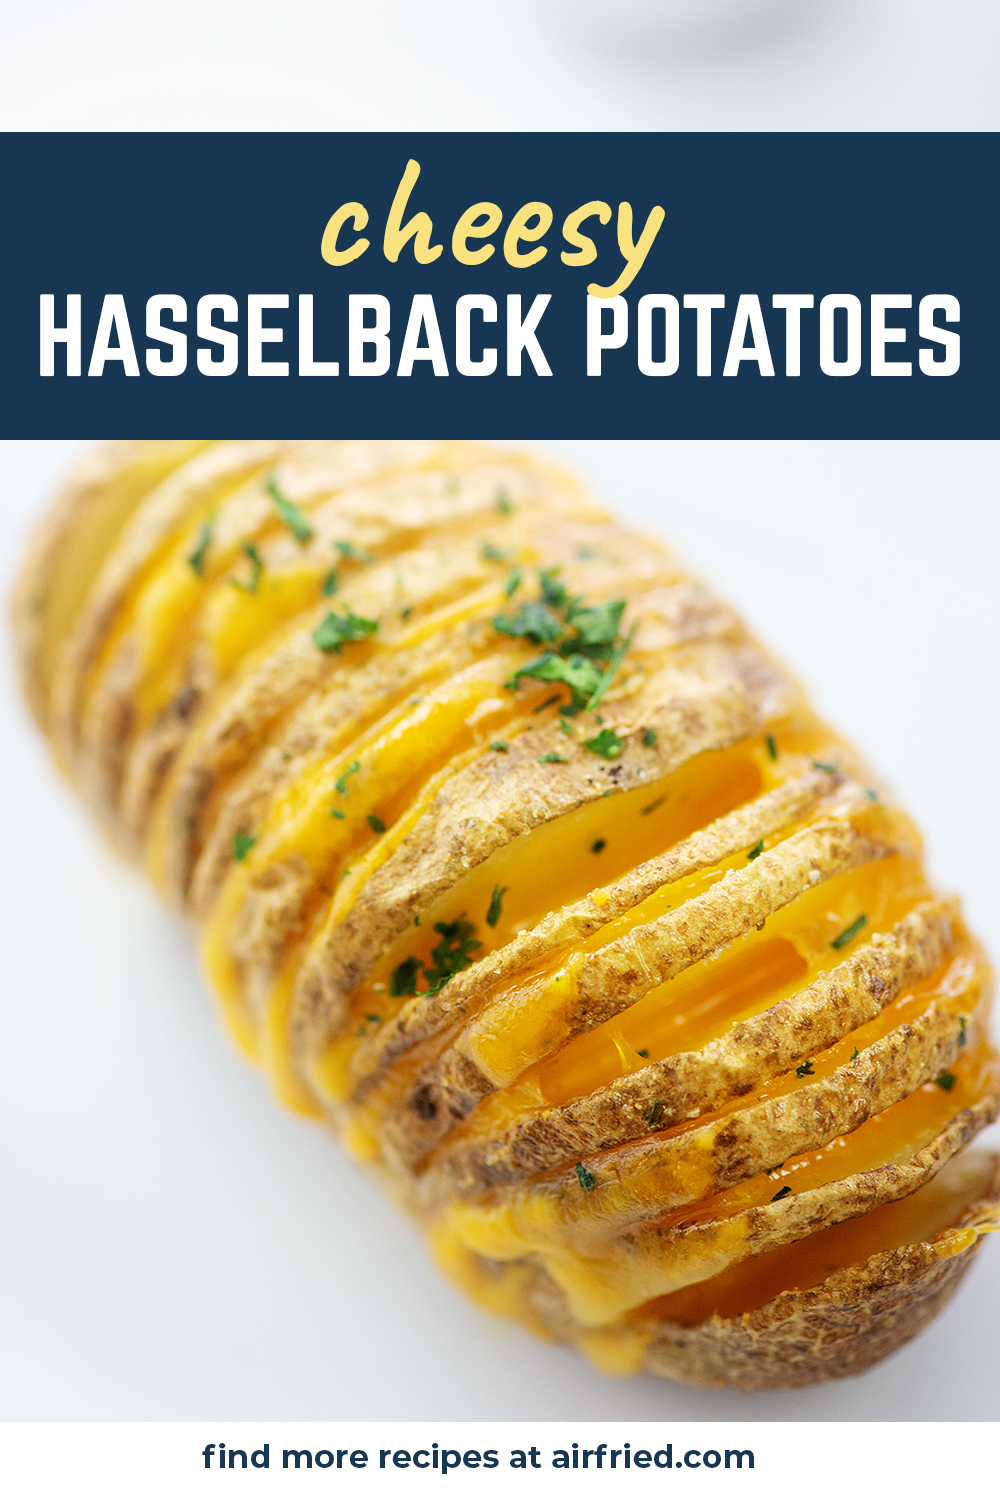
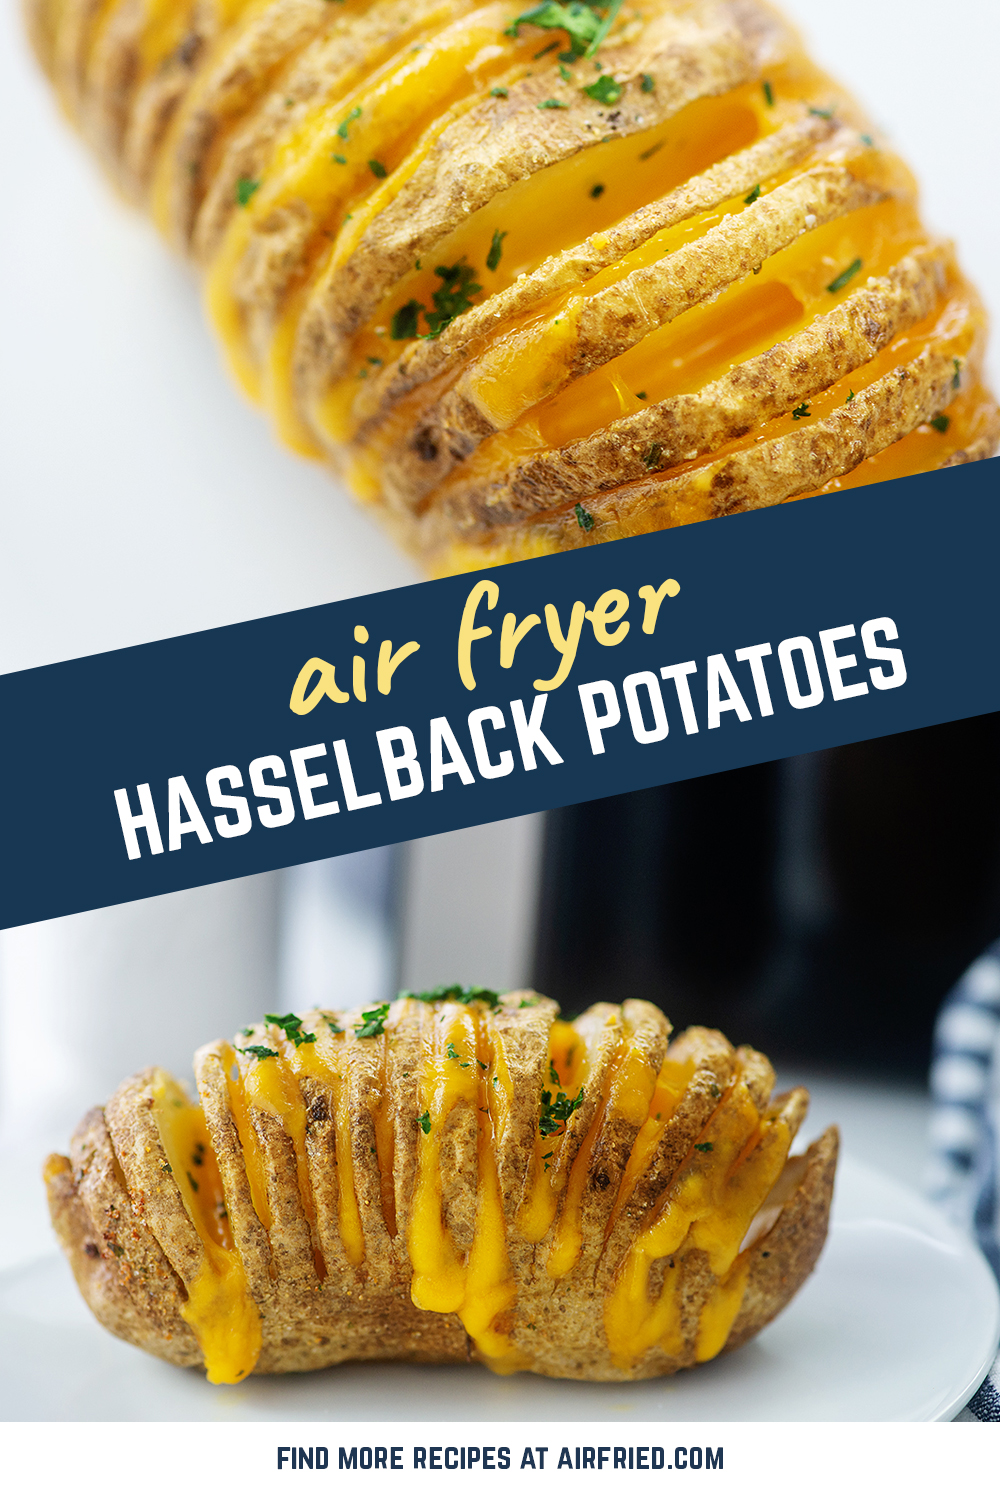
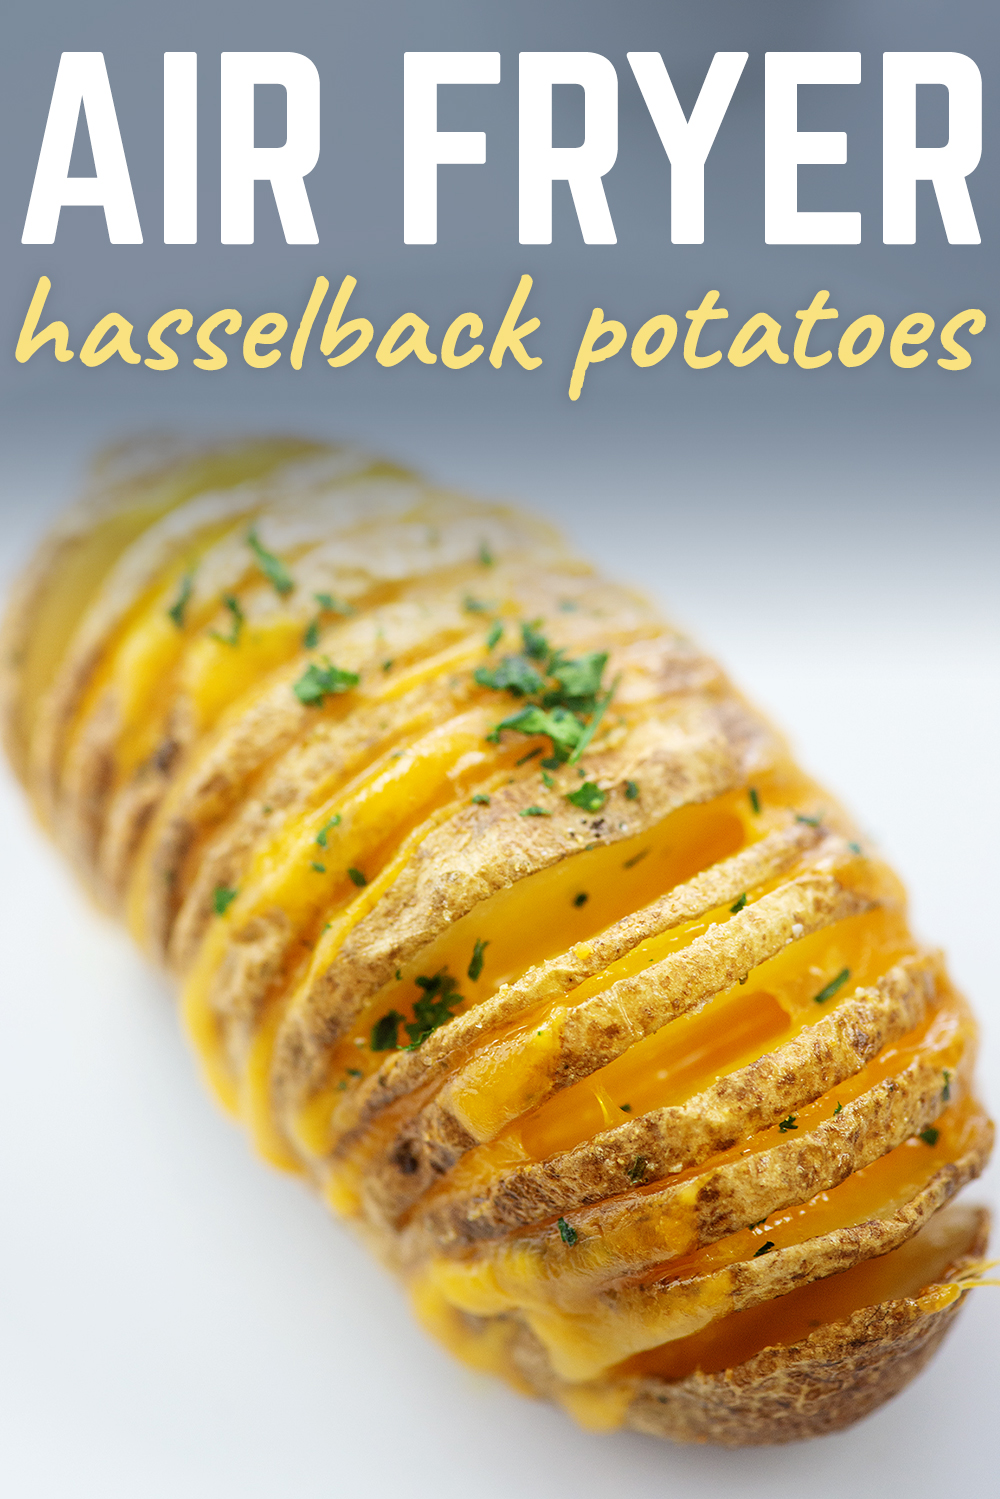
These hasselback potatoes get filled with cheddar cheese for the ultimate cheesy baked potato! You can even stuff bacon in the potato for extra yumminess!
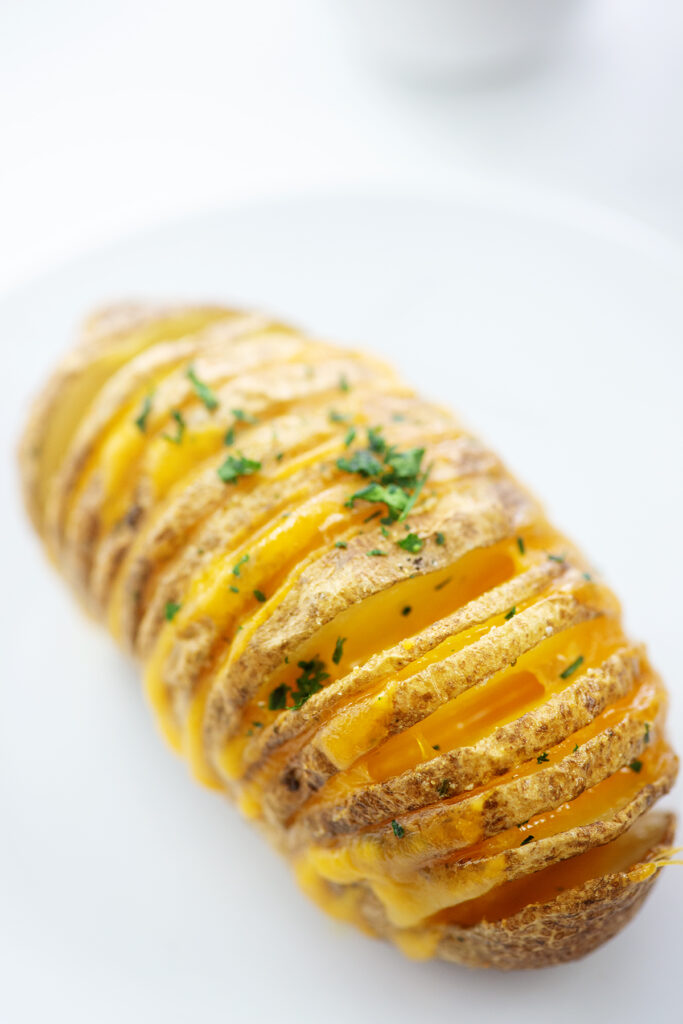
Hasselback potatoes are so good in the air fryer because the fanned out little “chips” attached to the potato get nice and crisp. The center is soft and tender, the outside gets crisp, the cheese is ooey gooey…what’s not to love about this??
Plus, with the potato fanned out, all of your seasonings get down in the little cracks on the potato and just fill it with flavor.
This potato is so good, I’ll be dreaming about it tonight and making it again for dinner tomorrow. We’re obsessed.
Ingredient List:
Medium Russet Potatoes – We use four for this recipe.
Sliced Cheddar Cheese – This will be cut into little squares for the perfect fit in the potato. Shredded cheese would also work well.
Olive Oil
Seasonings – Garlic salt, onion powder parsley, and cracked pepper are classics. Feel free to add additional seasonings that you like.
How to Make Cheesy Hasselback Potatoes:
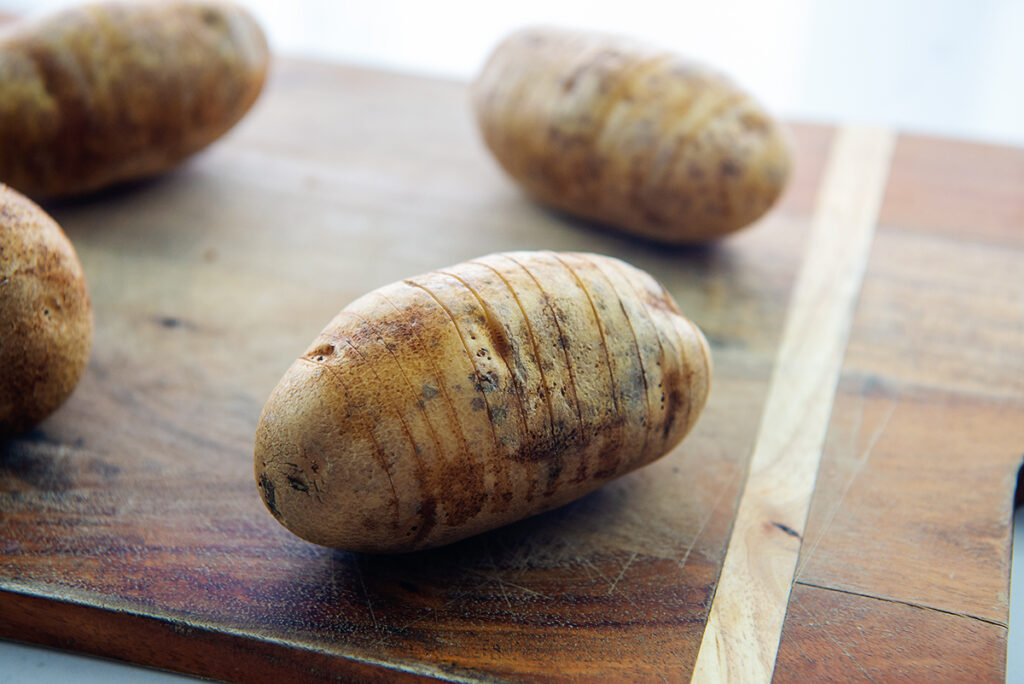
Cut the Potato – Place your potato on a cutting board and put two wooden spoons lengthwise on either side of it, holding the potato in place. Now slice straight down onto the potato until your knife hits the wooden spoons. This will stop you from cutting the potato all the way through and add consistency to the cuts. Repeat these cuts about every 1/4 inch along the length of the potato.
Season the Potato – In a small bowl combine garlic salt, onion powder, and dried parsley. Brush olive oil over your potatoes then sprinkle this seasoning over the potatoes.
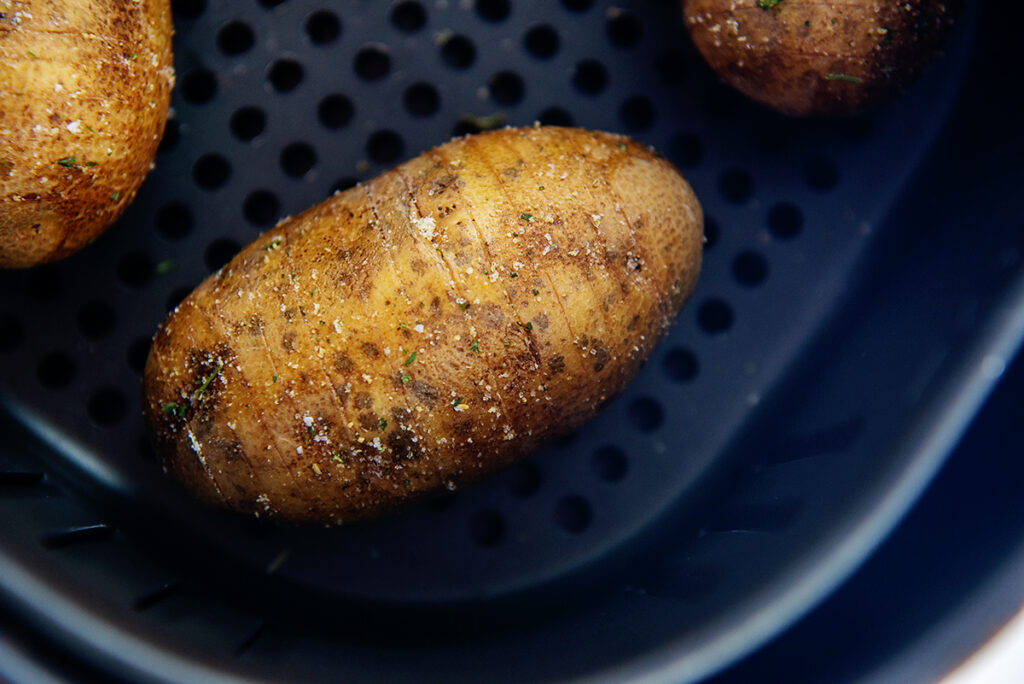
Cook the Potato – Cook your potatoes in the air fryer, spaced evenly, for 45 minutes at 350 degrees F. Check for doneness and continue cooking if needed. You want the center of the potato to be nice and soft.
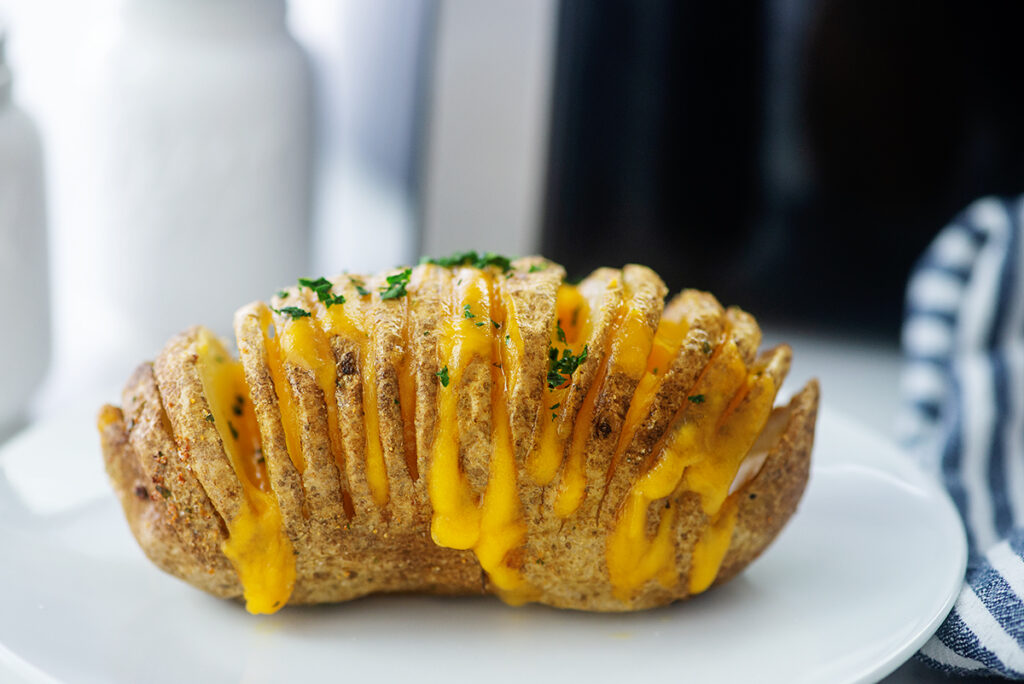
Stuff with Cheese – Cut your cheese slices into about 1 inch by 1 inch pieces. When the potatoes are done, add the cheese slices between the cuts on your potato then return to the air fryer for a minute to melt the cheese.
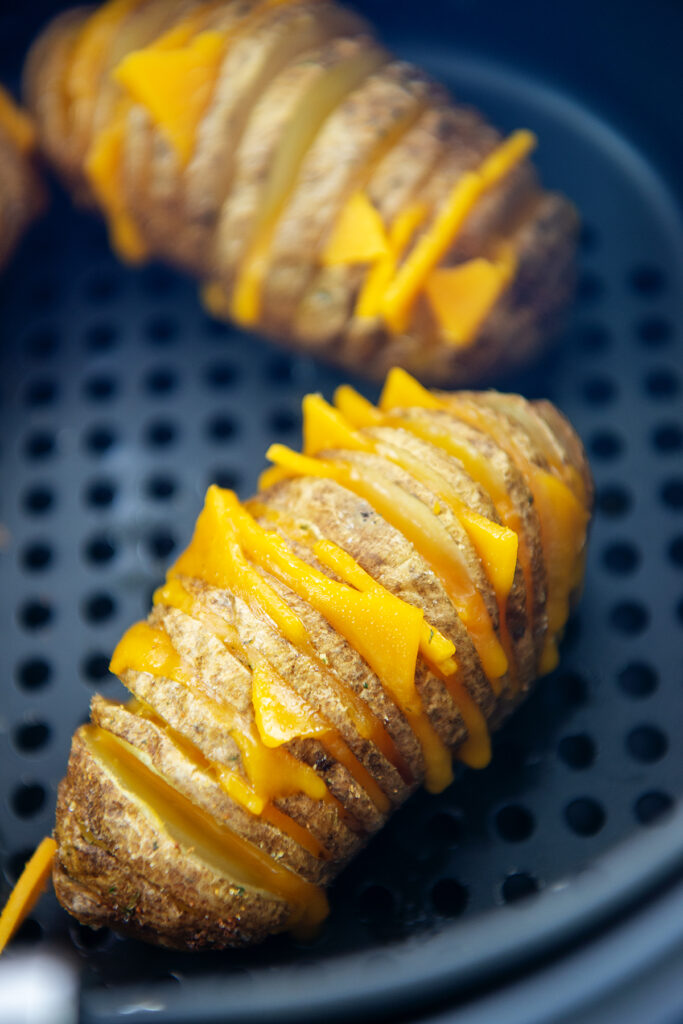
Serve the Potato – When serving your potatoes sprinkle minced parsley over the top. A little crumbled bacon is tasty too!
More air fried potato recipes:
- Garlic Butter Hasselback Potatoes
- Buffalo Ranch Potatoes
- Air Fryer Roasted Potatoes
- Air Fryer Baked Potato
Cheesy Hasselback Potatoes
Equipment
Ingredients
- 4 medium russet potatoes
- 2 teaspoons olive oil
- 1 teaspoon garlic salt
- ½ teaspoon onion powder
- ½ teaspoon dried parsley
- ½ teaspoon cracked pepper
- 8-10 slices cheddar cheese cut into squares
- Minced parsley for garnish
Instructions
- Preheat air fryer to 350 degrees.
- Wash and peel the potatoes.
- Place potato between two handles of wooden spoons. Use a sharp knife to cut slits about ¼ inch thick into the potatoes down to the spoon handles. The spoons help ensure you don’t slice all the way through to the bottom of the potato. Repeat with the remaining potatoes.
- Brush the potatoes with olive oil.
- Combine the garlic salt, onion powder, and parsley in a small dish and combine. Sprinkle over the potatoes.
- Place the potatoes in the air fryer and cook for 45 minutes or until fully cooked through and a knife is easily inserted through the center of the potato.
- Carefully place a slice of cheese in between the cuts in the potatoes.
- Return to the air fryer for 1 minute to melt the cheese.
- Remove from the air fryer and sprinkle with the minced parsley.
- Serve hot.
Notes
Nutrition
Did You Make This Recipe?
Share it with us on Instagram @air.fried and tag us #air.fried






Comments & Reviews
Marty says
#2 — Do not peel your potatoes. That’s the whole point of Hasselbacks is the crunchy peel of the (Russet) potato. Should be changed to #2 — Wash your potatoes well. (#3 Then start cutting.)
Ingredients: You are going to need much more than “2 teaspoons” of olive oil. Also, try butter, along with the oil, for super delicious hasselbacks.
Recommendation: Wrap your prepared+cut potatoes in aluminum foil. This is totally safe with an air fryer (just don’t block the heating fan!) This way you can maintain all the juices (and cheeses, at the end). This also cuts down on the necessary heating time (down from 45 to about 30 minutes, in my experience).